Creating a Debian12 KVM in Proxmox 8.x (cloud-init)
The image we are going to use can be downloaded from this URL:
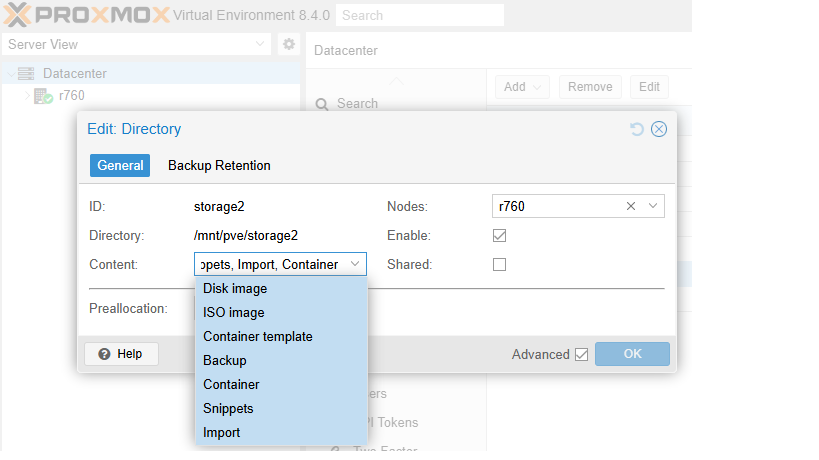
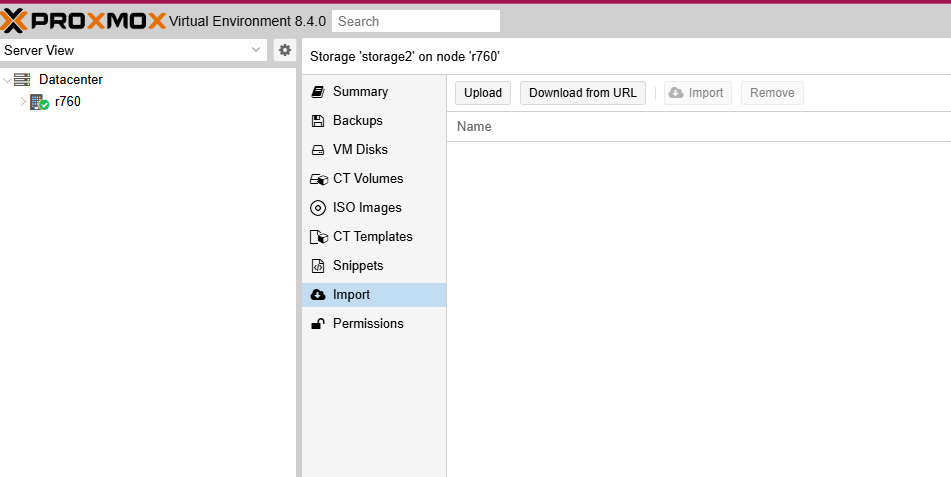
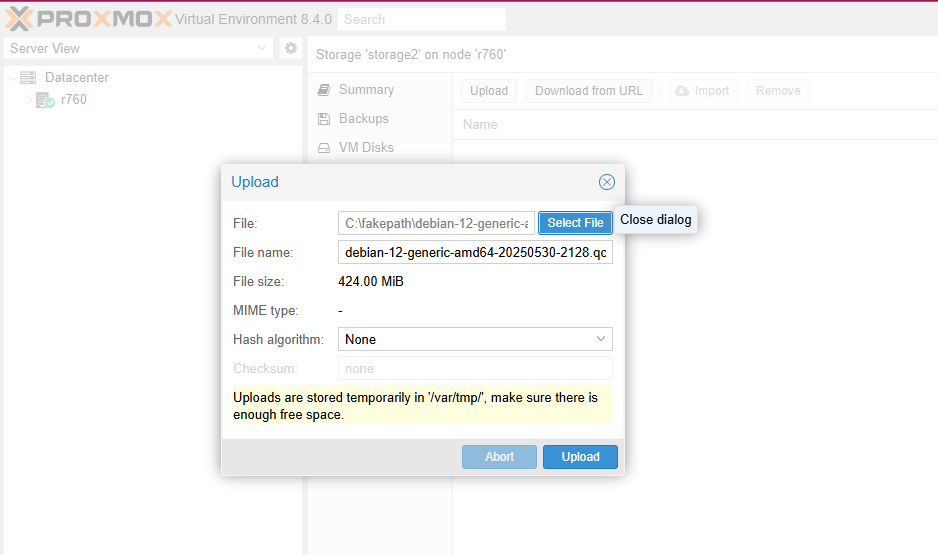
We start by uploading the image to Proxmox:
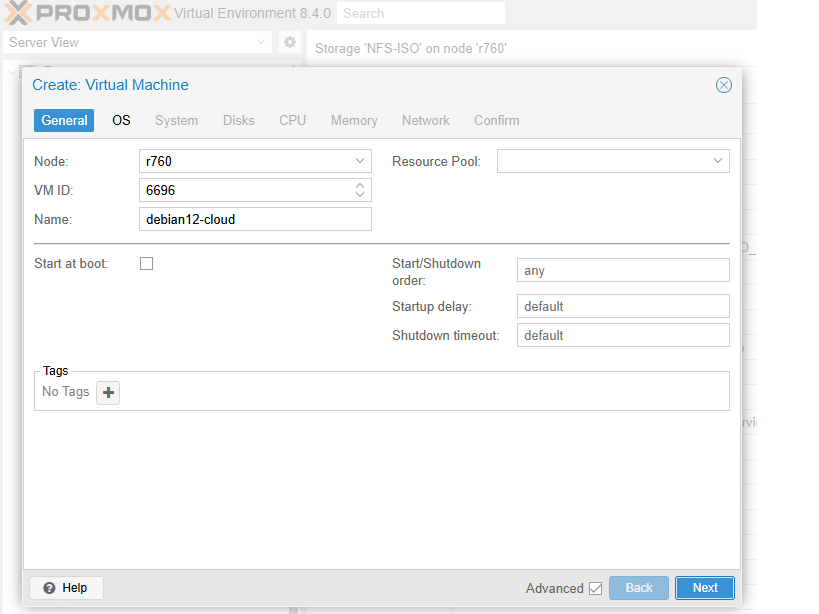
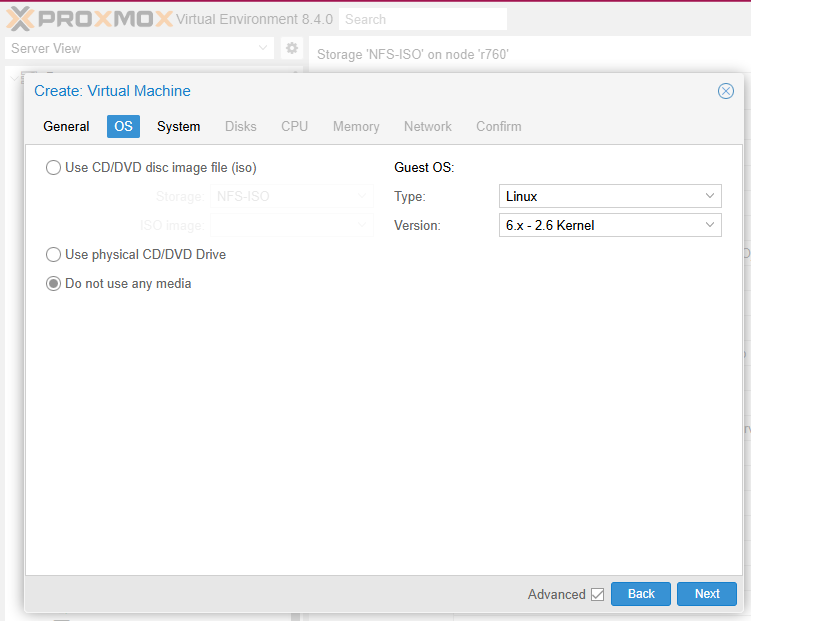
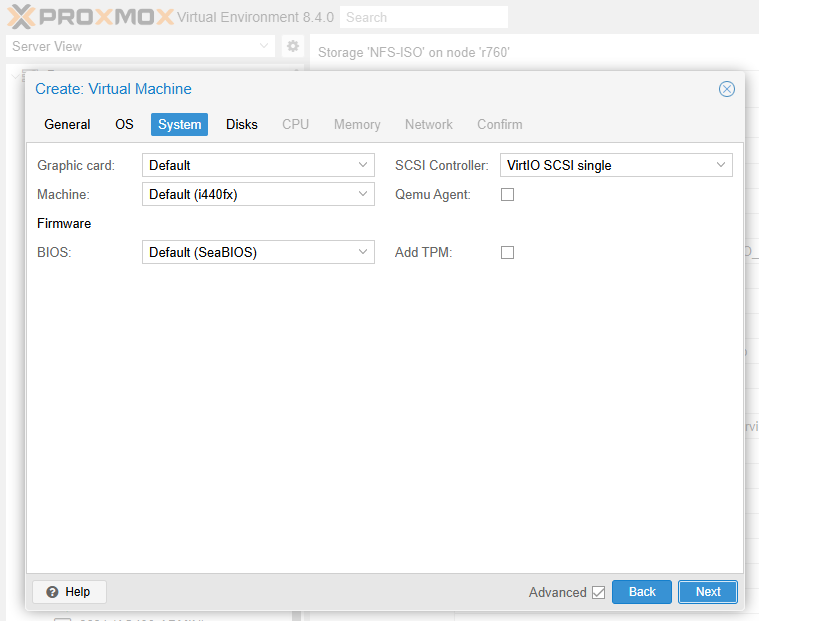
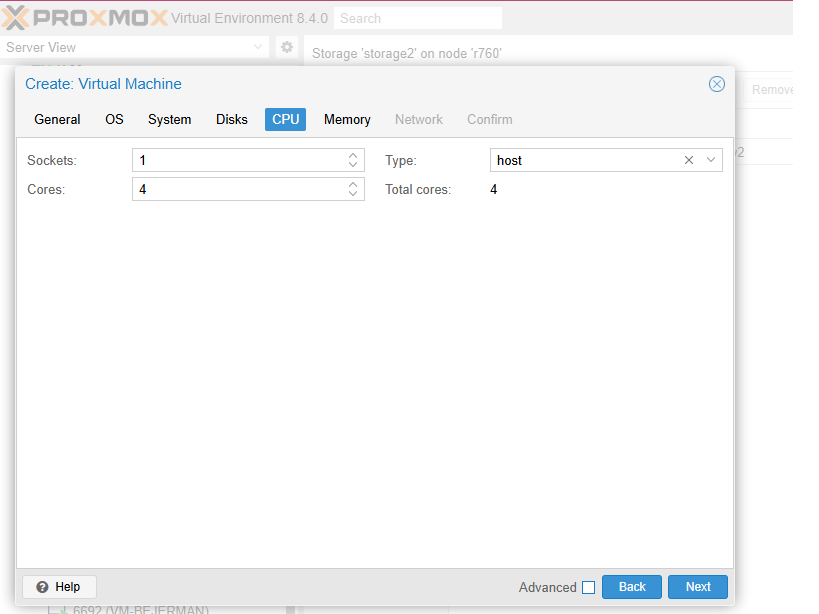
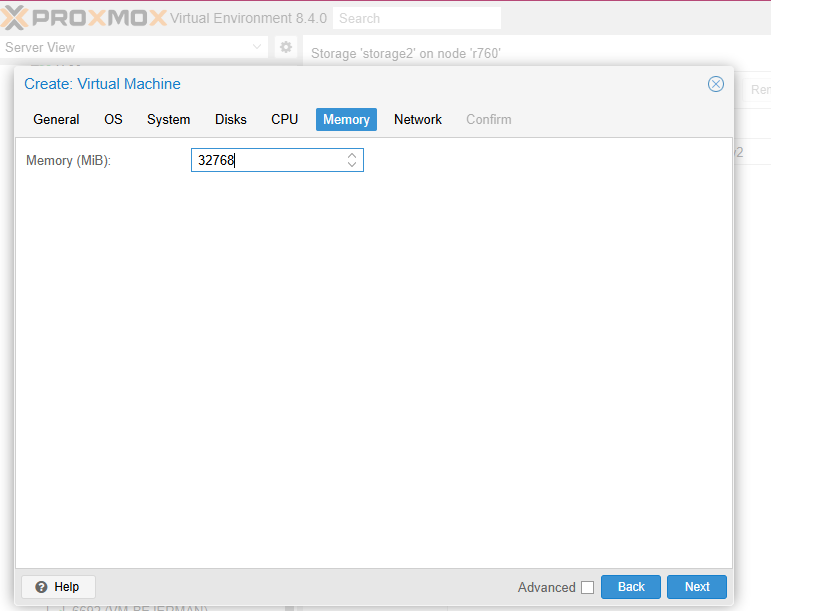
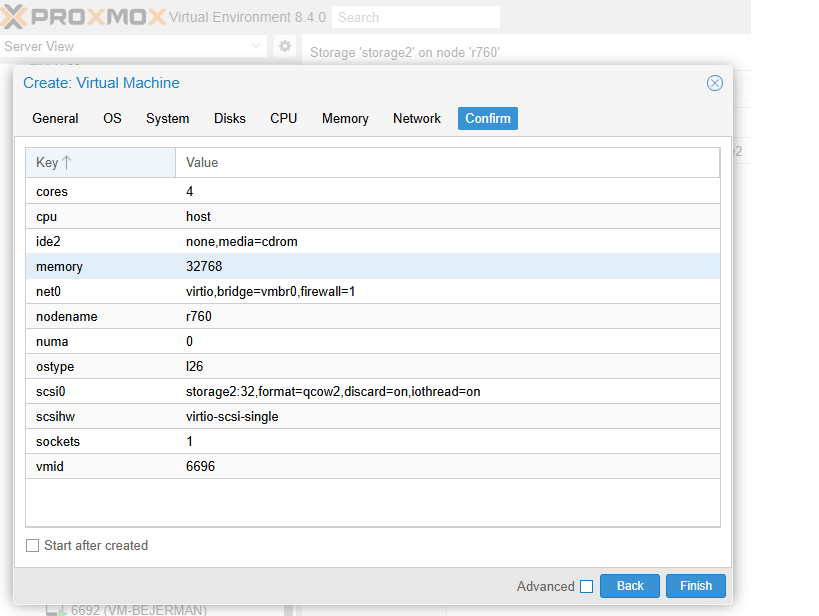
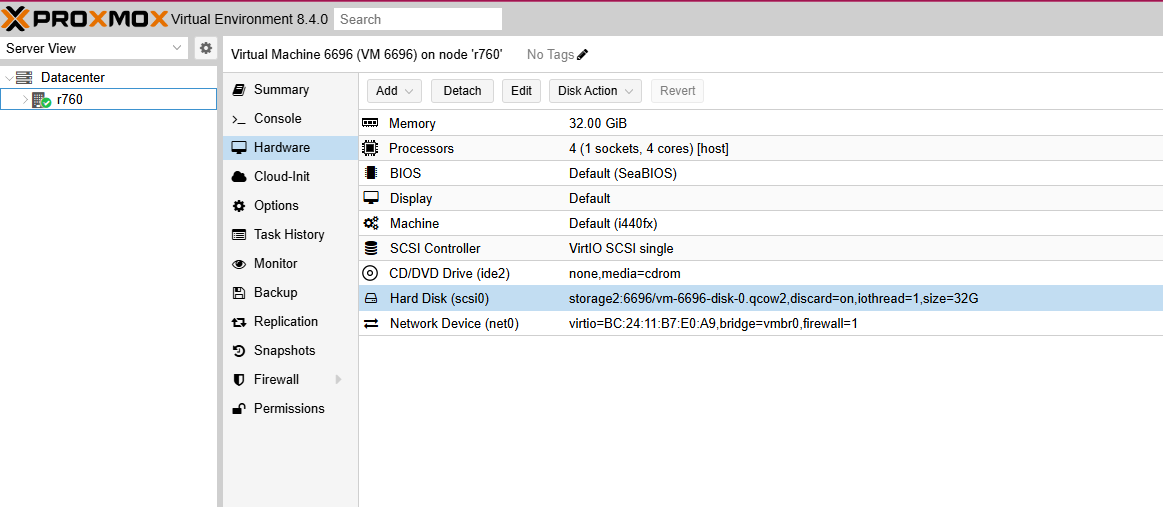
Let’s start creating the VM:
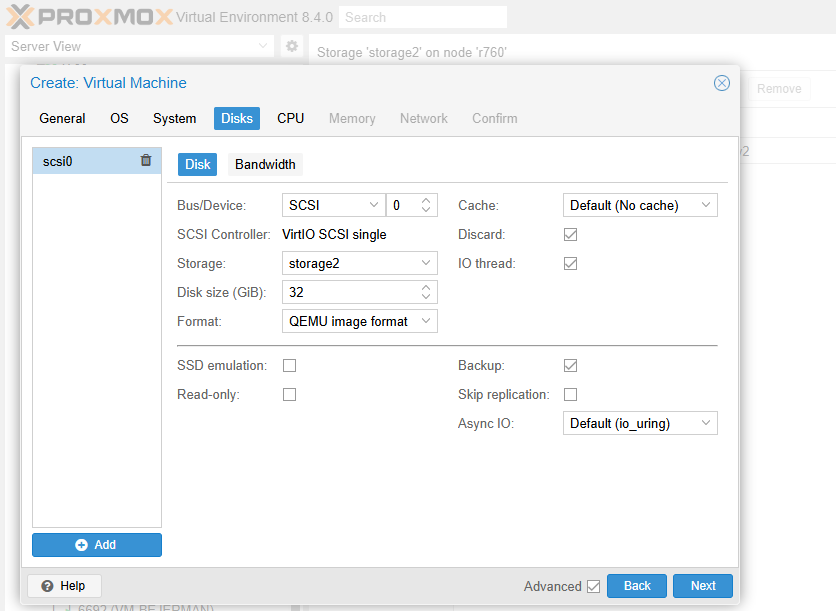
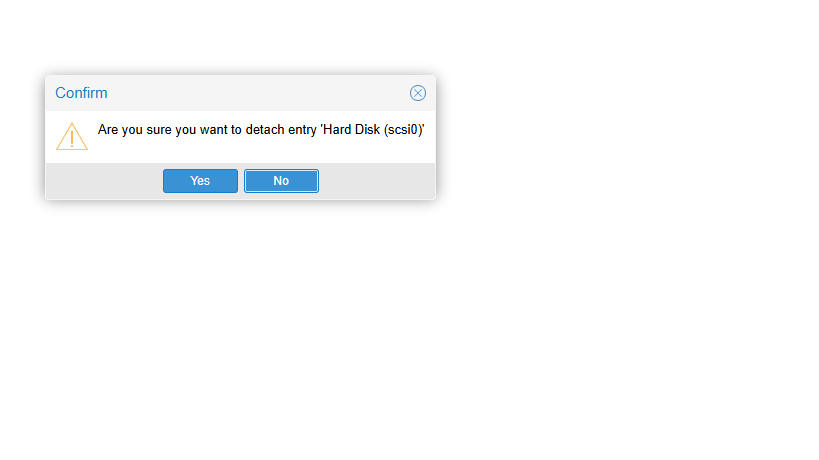
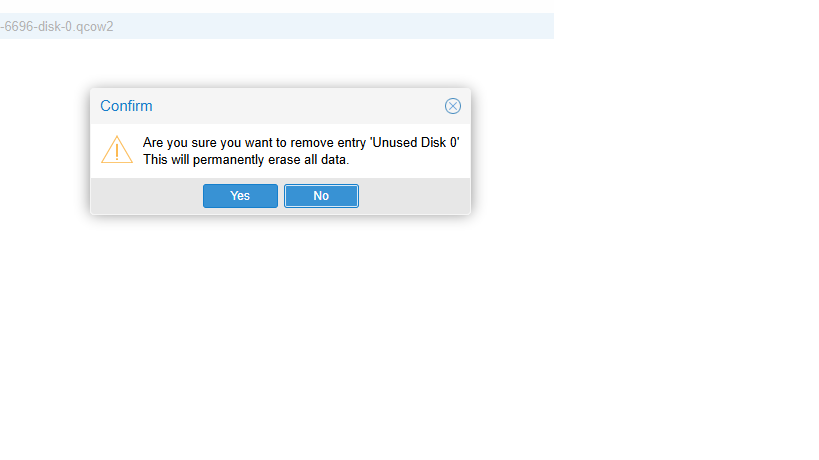
We select the created disk to later detach and delete it
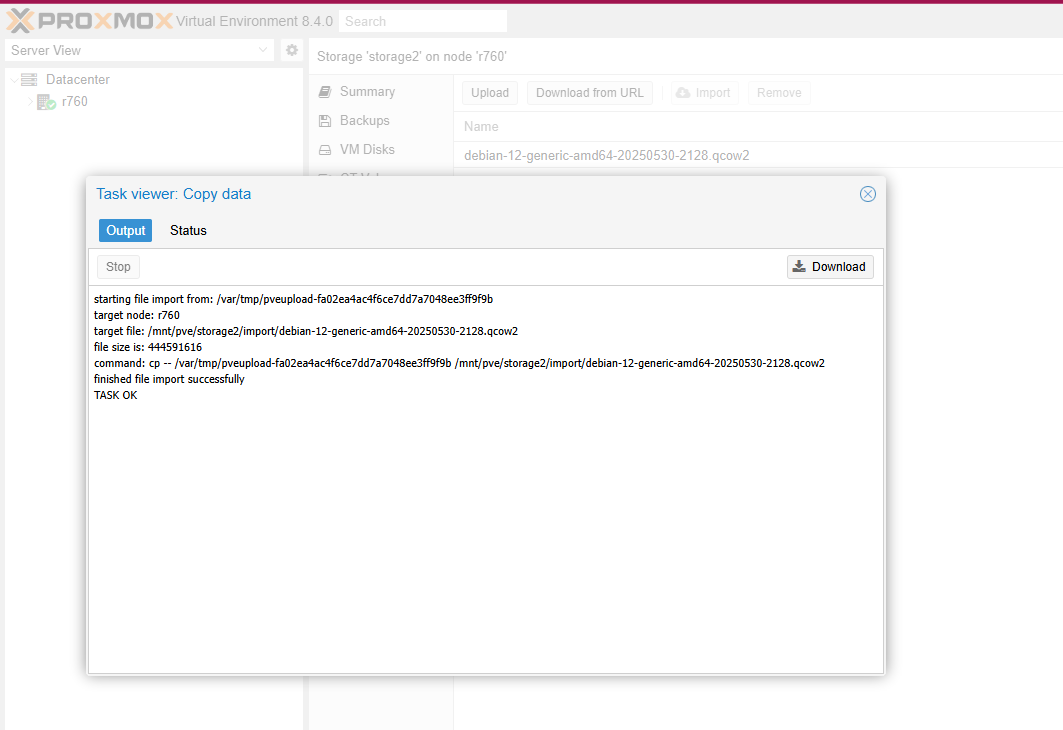
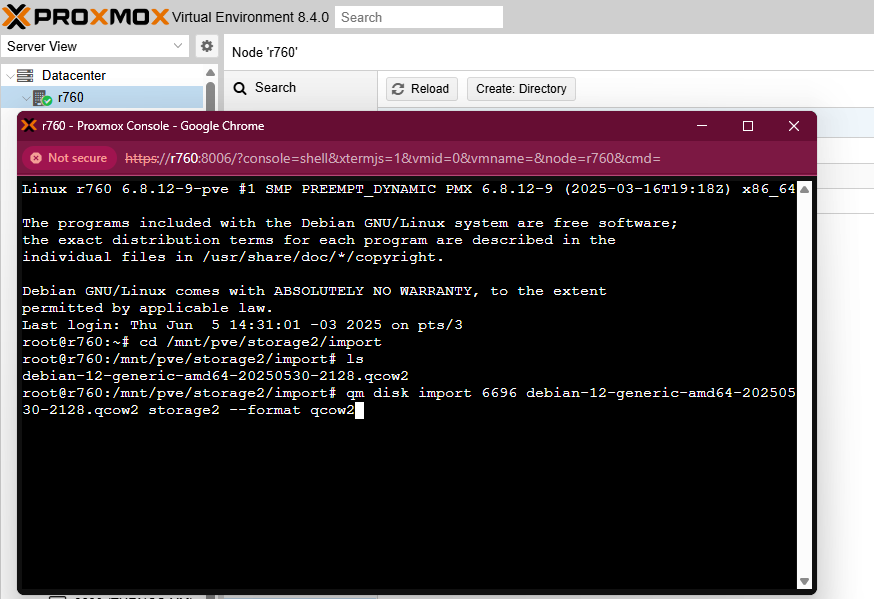
Now, from the console, we need to link the downloaded image (.qcow2) to the VM. To do that, type the following:
qm disk import <vmid> /path/donde/bajamos/imagen.qcow2 storage --format qcow2
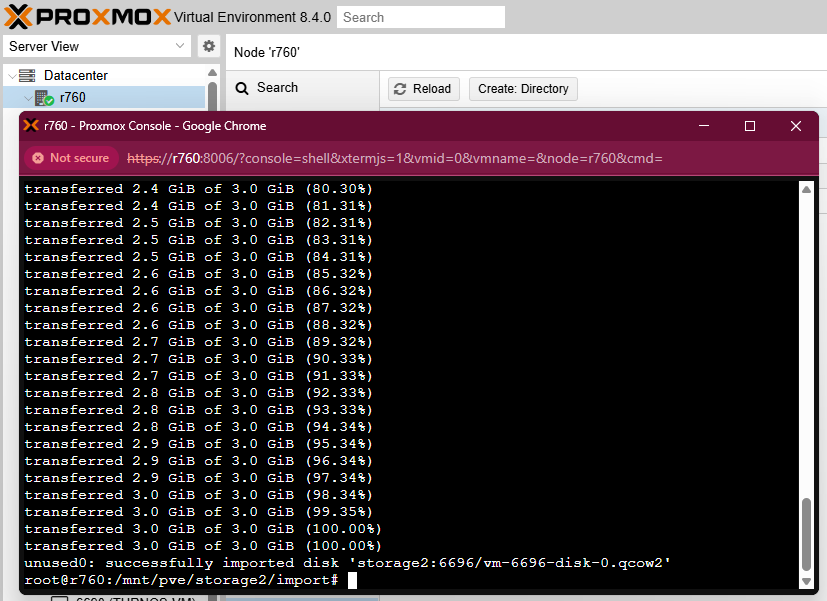
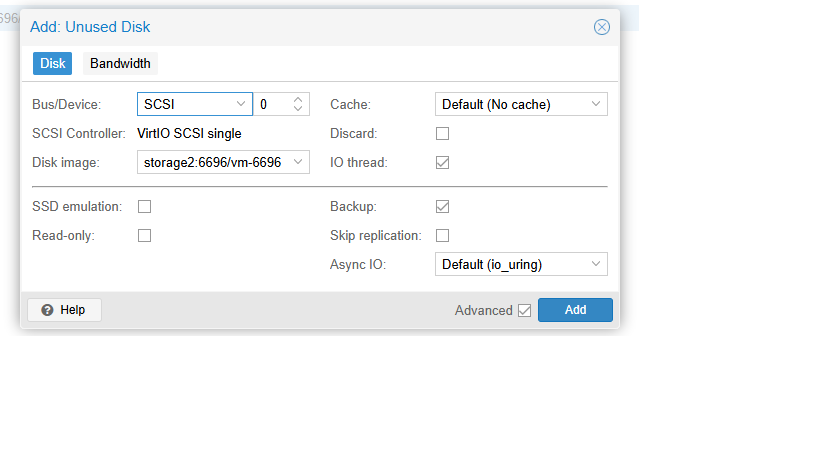
Once the command is executed, go back to the UI. At this point, the new disk will appear as unused. To attach it, double-click on it and press the ‘Add’ button.


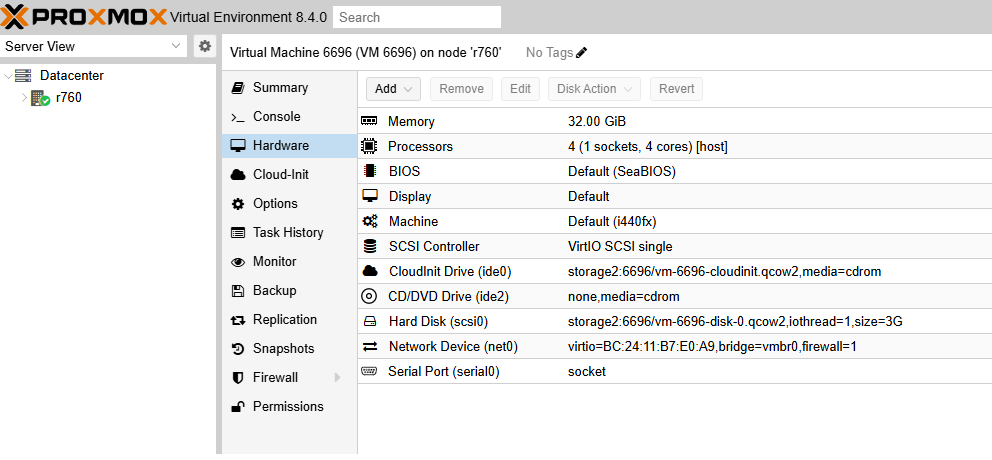
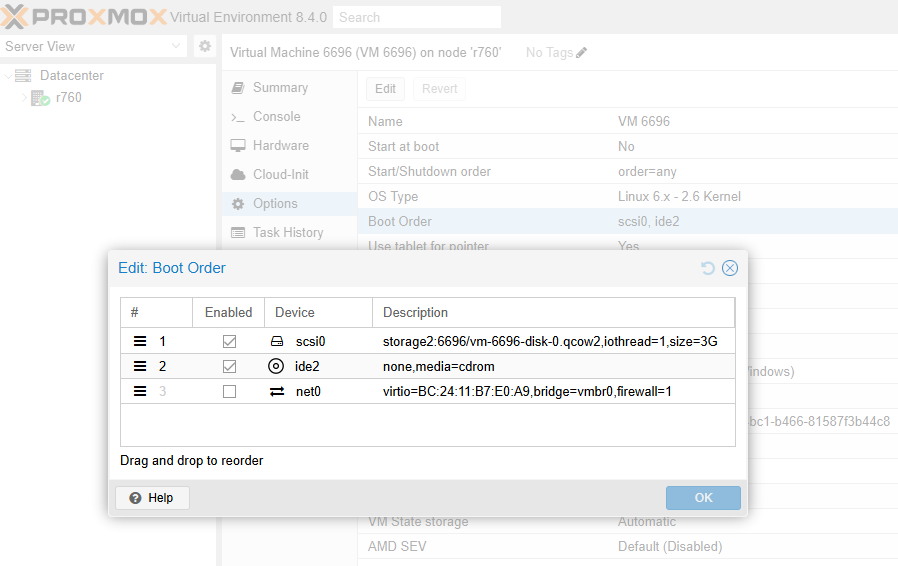
This is the final step, which consists of setting the boot order. Make sure to set the scsi0 disk we created as the first boot option:
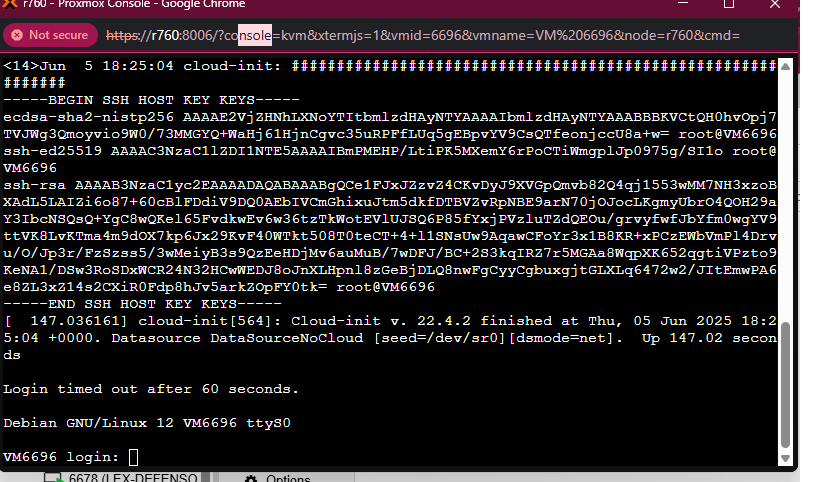
If everything was successful, after starting the VM you will see the login prompt in the console.